A single faulty switch does not necessarily mean a keyboard has reached the end of its service life. With the right diagnosis and a compatible replacement, Keyboard Switch Replacement can restore key response, correct inconsistent actuation, or change the typing characteristics of a hot-swappable board.
From GATERON's perspective as a switch manufacturer, the most important part of Keyboard Switch Replacement happens before the old switch is removed: identify the keyboard technology, confirm the mounting interface, and determine whether the switch is actually the failed component.
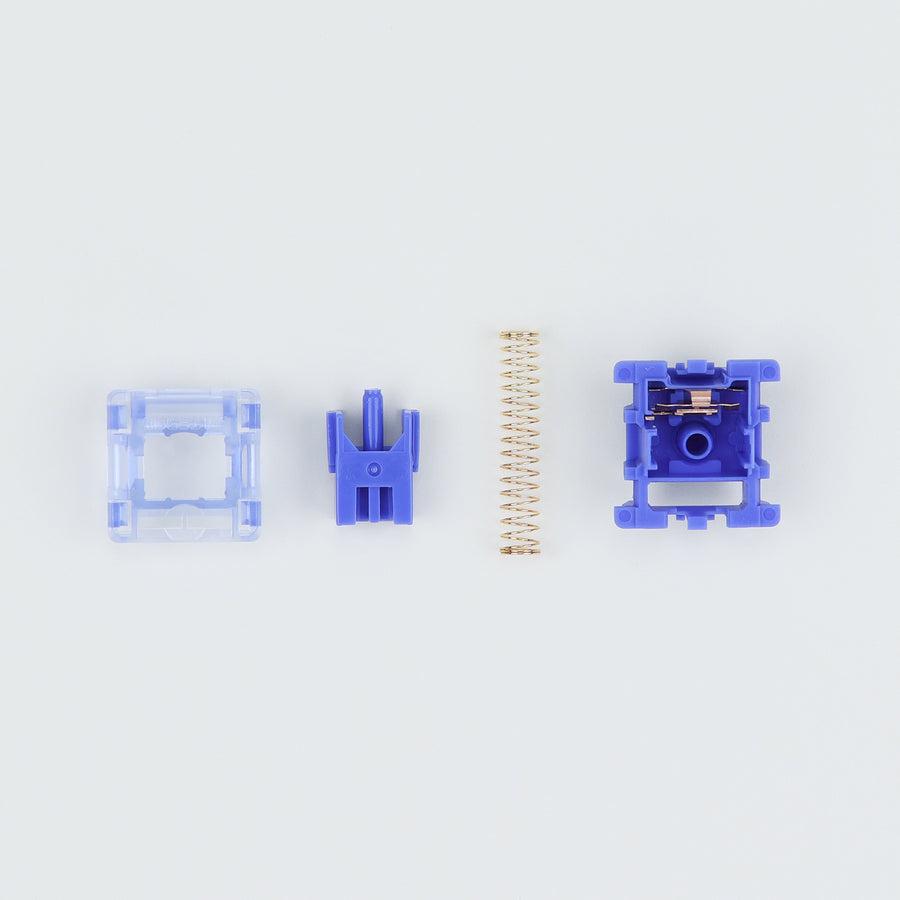
What Does Keyboard Switch Replacement Involve?
Keyboard Switch Replacement means removing a switch and installing another switch that is electrically, mechanically, and functionally compatible with the keyboard.
Replacement may be appropriate when a key shows:
- No input or intermittent registration
- Double input or switch chatter
- Abnormal resistance during travel
- Poor return or inconsistent rebound
- Physical stem, housing, or pin damage
- A typing feel that no longer suits the user
However, switch failure is only one possible cause. A damaged hot-swap socket or PCB trace, or an incorrect firmware setting or key mapping, can produce similar symptoms.
Start With Compatibility, Not the Switch Puller
A replacement switch that looks similar is not automatically compatible.
|
Compatibility Check
|
What to Verify
|
Why It Matters
|
|
PCB type
|
Hot-swap or soldered
|
Determines whether desoldering is required
|
|
Mounting
|
3-pin or 5-pin support
|
Affects physical PCB fit
|
|
Switch technology
|
Mechanical, optical, or magnetic
|
Different sensing systems are not automatically interchangeable
|
|
Switch height
|
Normal-profile or low-profile
|
Housing, plate, PCB, and keycap geometry may differ
|
|
Magnetic system
|
Sensor, magnet orientation, firmware support
|
HE switches depend on more than physical fit
|
3-Pin vs. 5-Pin Mechanical Switches
A typical mechanical switch includes two electrical contact pins. A 5-pin design adds two plastic locating pins around the center post to improve PCB alignment.
Some PCBs accept both formats; others do not. Before Keyboard Switch Replacement, check the keyboard or PCB specification rather than assuming an MX-style footprint guarantees compatibility.
Magnetic Switch Replacement Requires Extra Attention
Hall Effect keyboards use a magnetic field and sensor rather than the conventional metal-contact switching mechanism. As a result, magnetic Keyboard Switch Replacement is a system-level compatibility issue.
Physical fit alone is not enough. Compatibility can depend on:
- Magnet position and polarity
- PCB thickness and geometry
- Supported actuation range
GATERON magnetic switches, for example, are designed for compatible Hall Effect platforms rather than conventional mechanical PCBs.
Tools for Keyboard Switch Replacement
For a standard hot-swappable mechanical keyboard, prepare:
- Compatible replacement switch
- Fine tweezers or inspection tool
- Key-testing software or keyboard tester
A soldered PCB additionally requires proper soldering and desoldering equipment.
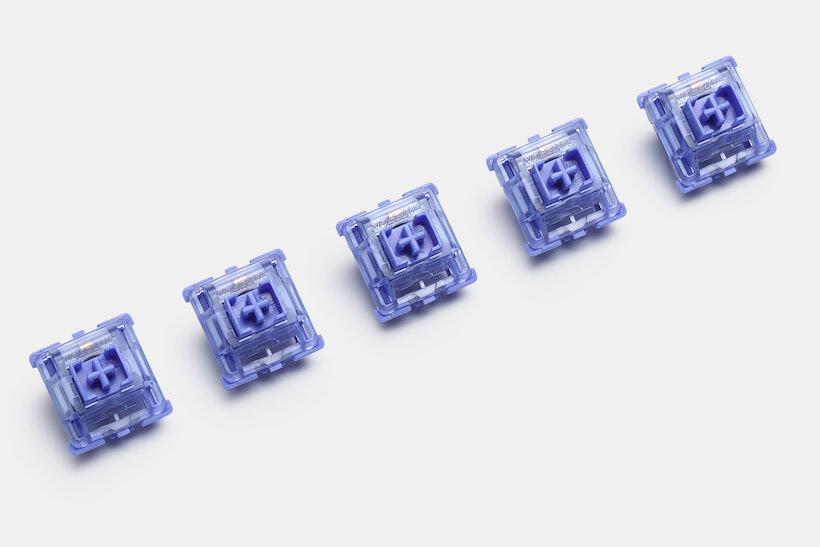
Keyboard Switch Replacement: Step by Step for Hot-Swappable Mechanical Keyboards
Step 1: Disconnect Power
Disconnect USB power and turn off the keyboard before opening the board or removing switches.
Step 2: Remove the Keycap
Pull the keycap vertically where possible. Large stabilized keys require additional care because the stabilizer—not only the switch—is mechanically involved.
Step 3: Extract the Existing Switch
On a hot-swap board, engage the upper and lower retaining clips with the switch puller and apply controlled upward pressure.
Do not force the switch out if the retaining clips have not been released. There are many ways to break the switch while attempting to force it into the socket. The solder joints on the PCB may break.
Step 4: Inspect the Switch and PCB
Switches can become damaged during manufacturing and shipping.
Look for broken or deformed pins, misaligned locating pins and cracks in the case.
Dirt can prevent a switch from seating fully and can cause misalignment.
Check the PCB for damage.
If a switch is misaligned, replacing other switches near it will not correct the problem.
Step 5: Verify Correct Placement of Switch
If the electrical pins of the switch are deformed it may not function correctly
The switch should be aligned to the PCB.
Step 6: Install Switch
Switches should fit firmly. If you hear or feel something break, stop applying pressure and carefully remove the switch to inspect the pins, housing, socket, and PCB for damage
Step 7: Preliminary Test
Test the switch to see if it eliminates double or unregistered key strokes.
Once you have confirmed the switch meets the requirements, disconnect power again before removing and replacing any other switches as needed.
What If the Replacement Switch Still Does Not Work?
Check to see if the newly installed switch is defective by putting it in a different known good switch socket. Then check to see if the defect is with the firmware or remapping. Check the PCB and the hot-swap sockets.
What About Soldered Keyboards?
On a soldered keyboard, Keyboard Switch Replacement requires access to the PCB and removal of solder from the switch pins.
Poor desoldering technique can lift pads, damage traces, or apply excessive heat to nearby components. If the solder does not flow cleanly or the switch remains mechanically locked to the PCB, increasing force is not the correct solution.
Common Keyboard Switch Replacement Mistakes
Avoid these common errors:
- Selecting a switch based only on housing shape
- Assuming every 3-pin or 5-pin switch is universally compatible
- Forcing bent pins into a hot-swap socket
- Pulling switches sideways
- Mixing mechanical, optical, and magnetic standards
- Treating low-profile switches as universal replacements
- Skipping testing before final assembly
GATERON's own low-profile guidance likewise notes that low-profile switch families can be designed around specific keyboard standards rather than universal fit.
Final Thoughts
Reliable Keyboard Switch Replacement is primarily an exercise in compatibility and diagnosis. Identify the keyboard technology first, inspect the PCB and socket, verify the replacement switch, install it without excessive force, and test before completing reassembly.
GATERON understands mechanical switches and how different types of users interact with keyboards. Using this knowledge, we create products for a range of keyboard types. It is always beneficial to know the hardware and software platform of your current keyboard to make informed decisions when purchasing switches.
With knowledge of switch technologies and a passion for modding or building keyboards, we welcome you to check our website for the latest innovations in keyboard switches and to view our switch sampler.
FAQs
Q1. Can I use GATERON switches for Keyboard Switch Replacement?
Yes, if the GATERON switch is compatible with your keyboard's PCB, mounting structure, switch profile, and sensing technology. Always check the keyboard specifications before installation.
Q2. Are GATERON switches hot-swappable?
Many GATERON mechanical switches can be used in compatible hot-swappable keyboards. However, hot-swap capability is determined by the keyboard PCB and socket, not by the switch alone.
Q3. Can I replace one faulty switch with a GATERON switch?
Yes. If the keyboard has compatible hot-swap sockets, you can usually replace a single faulty switch without replacing the entire switch set.
Q4. What is the difference between GATERON 3-pin and 5-pin switches?
A 3-pin switch uses two electrical pins and one central positioning post. A 5-pin switch adds two plastic locating legs for additional PCB support. Pin count mainly affects mounting compatibility, not switch feel.
Q5. Can I use a GATERON 5-pin switch in a 3-pin keyboard?
Without modifying the switch, only if the PCB also supports the 5-pin mounting structure. Some users modify locating legs for specific builds, but checking PCB compatibility before purchase is the safer approach.



